After you have created a Merge Template in Word with the proper merge fields, it will need to be uploaded to Salesforce. Administrators and users with the “Manage Public Templates” permission can upload completed Microsoft Word mail merge templates to Salesforce to make them available for use. Read More
When you send the same correspondence to customers in an ongoing basis, Merge Templates can be of great assistance. Create a merge document in Word 2007 or higher and upload it to Salesforce. When merged, data will populate the fields you have included in the template and send the full merged document to the user via email. The user can then print it out. Read More
The Kanban view is available for almost any object from a list view. One of the objects not available is the Task object. Kanban view gives you a great look at records, grouped together in pipeline like view.
To switch to Kanban view from a List view, click the View toggle button (#7 below) and choose List or Kanban.
Here is an overview of the Kanban View for Opportunities.
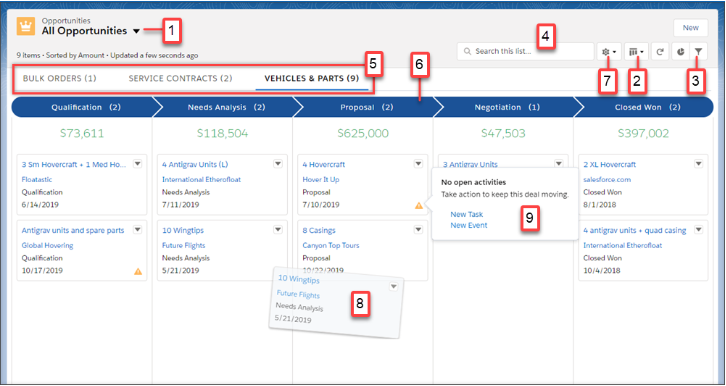
- The name of the object you are viewing
- Button to toggle from regular list view and the Kanban view.
- Button to filter records being viewed
- Search for records in the current view
- Records separated by Record Type
- Records are grouped into columns base on stage, status, etc.
- Button to adjust settings for the Kanban view such as columns and summaries
- Click and drag records to different columns to easily organize the list
- Yellow Alert icon will be different for each object. In this example it is telling the user the Opportunity has not been ‘touched’ or does not have a pending task.
Some Considerations for Kanban Views are:
- The Kanban view displays a maximum of 200 cards.
- Kanban cards display a maximum of four fields.
- Summaries can be created only for numeric and currency fields that aren’t roll-up summary or formula fields.
- If a record has a null value for the Group By field, it doesn’t appear in the Kanban view.
A new feature in Salesforce Lightning Winter ’19 are the Display Density settings which controls the amount of white space seen on the pages. There are two options:
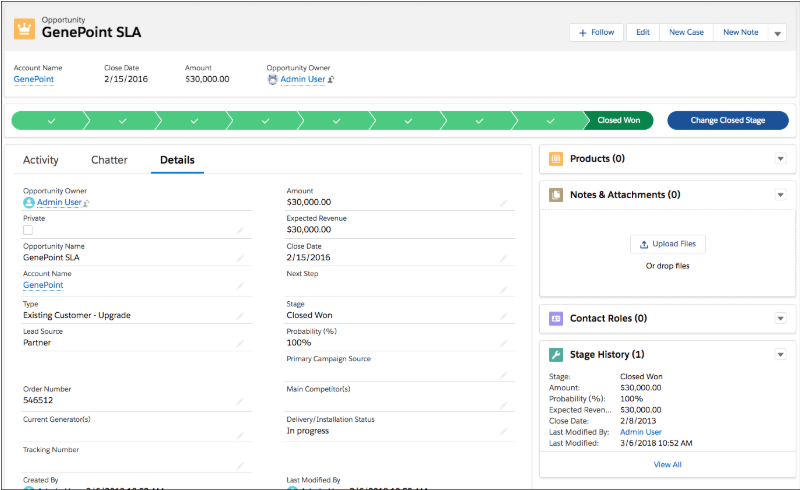
The first is the “Comfy” setting which has more white space between Salesforce elements such as fields and related lists. The label for fields is located at the top of each value. Existing organizations will have this setting as the default. The Comfy setting looks like this:
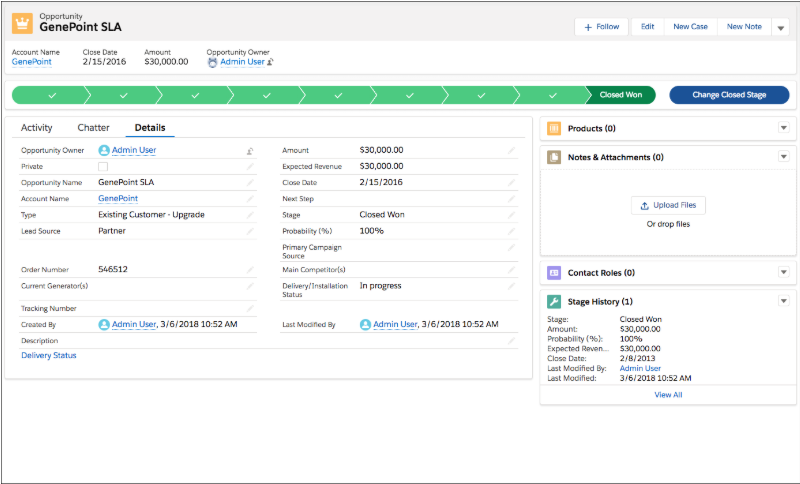
The second is the “Compact” setting which has less white space so more elements fit onto the viewing page. The label for fields is located at the side of each value allowing for up to 30% more information to be seen. The Compact setting looks like this:
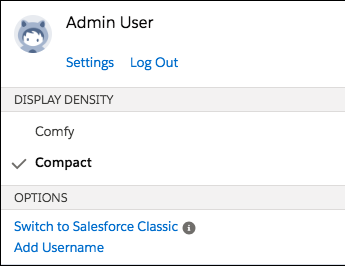
To change the Density setting, click on your username in the top right corner of the page and choose “Comfy” or “Compact” under the Display Density section.
Although the administrator will set default items that are available on the Navigation bar, you can now change certain parts of each user’s page. You can add items to the navigation bar and rename or remove those items. The default items cannot be renamed or removed.
To make multiple changes to the Navigation Bar:
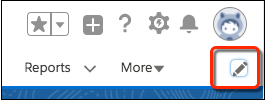
- Click the pencil at the far right of the Navigation bar
- Drag items on the Navigation Bar to reorder them
- Rename items by clicking the Pencil icon next to the item you want to rename. You can’t rename items that your admin has specified for the app.
- To remove items from your navigation bar, click the x next to the item. You can’t remove items that your admin has specified for the app.
- To add items to your navigation bar, click Add More Items. Search through your favorites or all available items in your org, and choose what to add. After you make your selections, you can reorder or remove items before saving your changes. You can’t rename or remove items that your admin has specified for the app.
To make a few changes in the Navigation Bar:
- Drag items on the Navigation Bar to reorder them
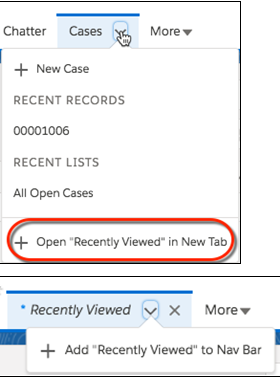
- If you’re viewing a page, such as a list or dashboard, and want to add it to the navigation bar, select Open in New Tab in the current tab’s dropdown menu to create a temporary tab. To permanently add the tab to the navigation bar, select Add to Nav Bar from the temporary tab’s dropdown menu.
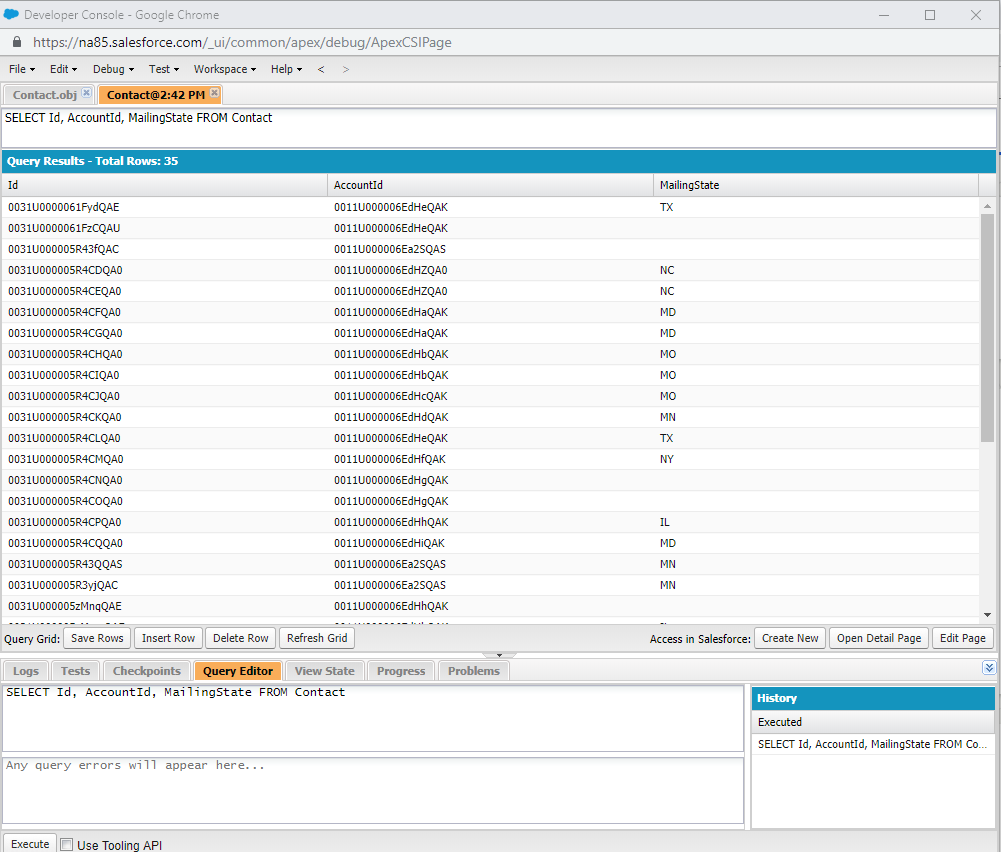
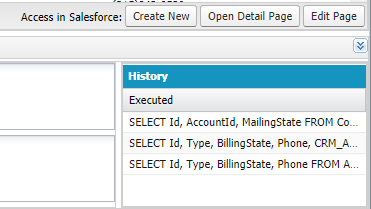
There may be times when you want to see data in its raw form and be able to query on specific criteria. The Query Editor in the Developer Console allows you to write and execute a SOQL query on the data in your organization. The History pane displays your last 10 queries for quick reuse. Results are displayed in a Query Results grid, in which you can open, create, and update records.
To open the Developer Console from Salesforce Classic:
- Click Your Name.
- Select Developer Console.
To open the Developer Console from Lightning Experience:
- Click the Gear Icon.
- Select Developer Console.
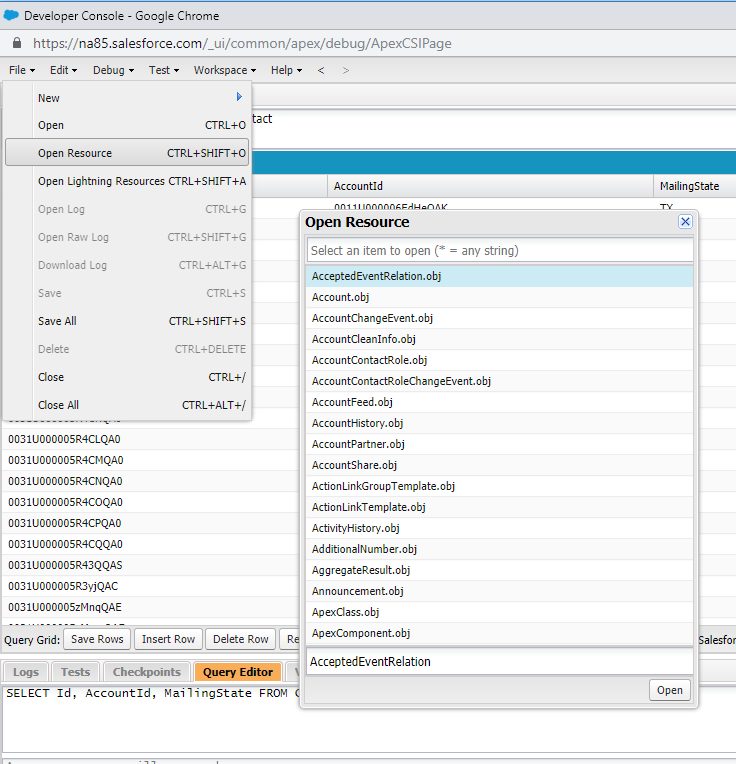
- Enter a SOQL query in the Editor box or navigate to File –> Open Resource. The Open Resource window displays.
- Search for the object by typing in the Select an item to open box. Select the object and click the Open For this example we will query on Account.
**BE SURE TO SELECT THE OBJECT WITH THE “.obj” EXTENTION
- All of the object’s fields display. Select the fields you would like displayed in the result list. Select multiple fields by holding down the Control
- Click the Query button to create and add the SOQL query to the editor.
- Click the Execute button to run the query and see the results.
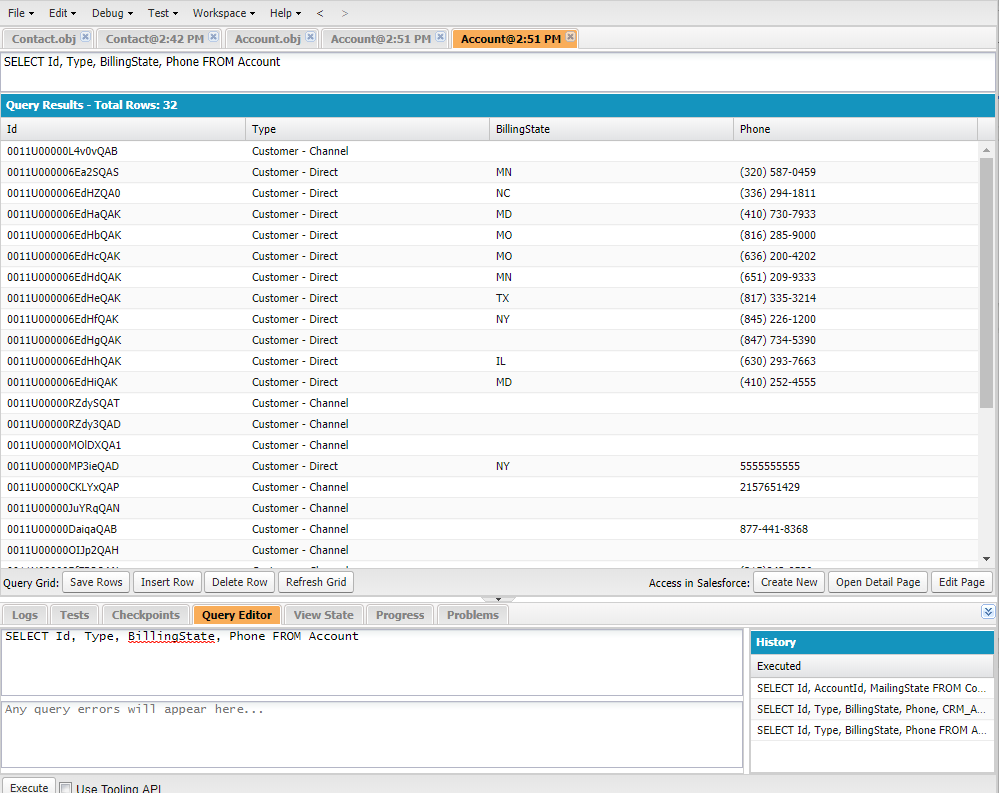
- Add a where clause, include more fields, etc. to the SOQL query at any time.
- Click on the Create New (add new record for the type of object in the query), Open Detail Page (open record in read mode), or Edit Page (open record in edit mode) to perform quick actions.
- To refresh the result list click the Refresh Grid
- To execute the SOQL query after making changes, click the Execute
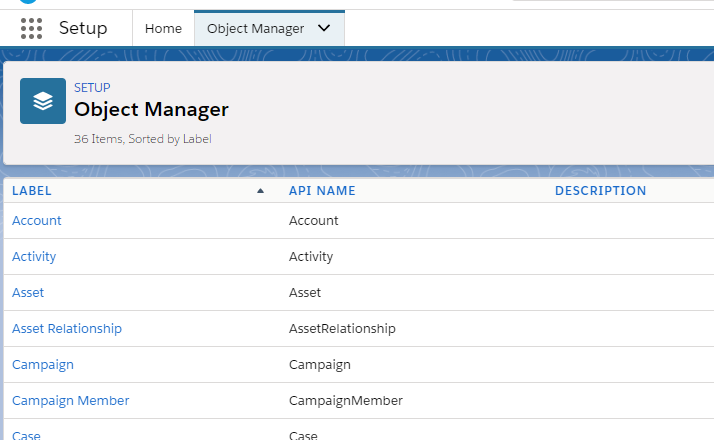
The Object Manager is the place to go to manage your standard and custom object such as custom fields, page layouts, and validation rules. If an object is included in a managed package or is for Salesforce systems, you may not be able to access those.
Standard objects such as Account or Contact come with all Salesforce organizations. A custom object is something you have created or added to manage additional items.
Here are some of the ways you can manage objects:
To open the Object Manager:
- Click on the Gear Icon at the top of the page and choose Setup.
- Click on the Object Manager The standard and custom objects are displayed in a list.
- Select the object you want to manage. For this example we will use the Account object. The options for what is manageable are on the left and details will display on the right.
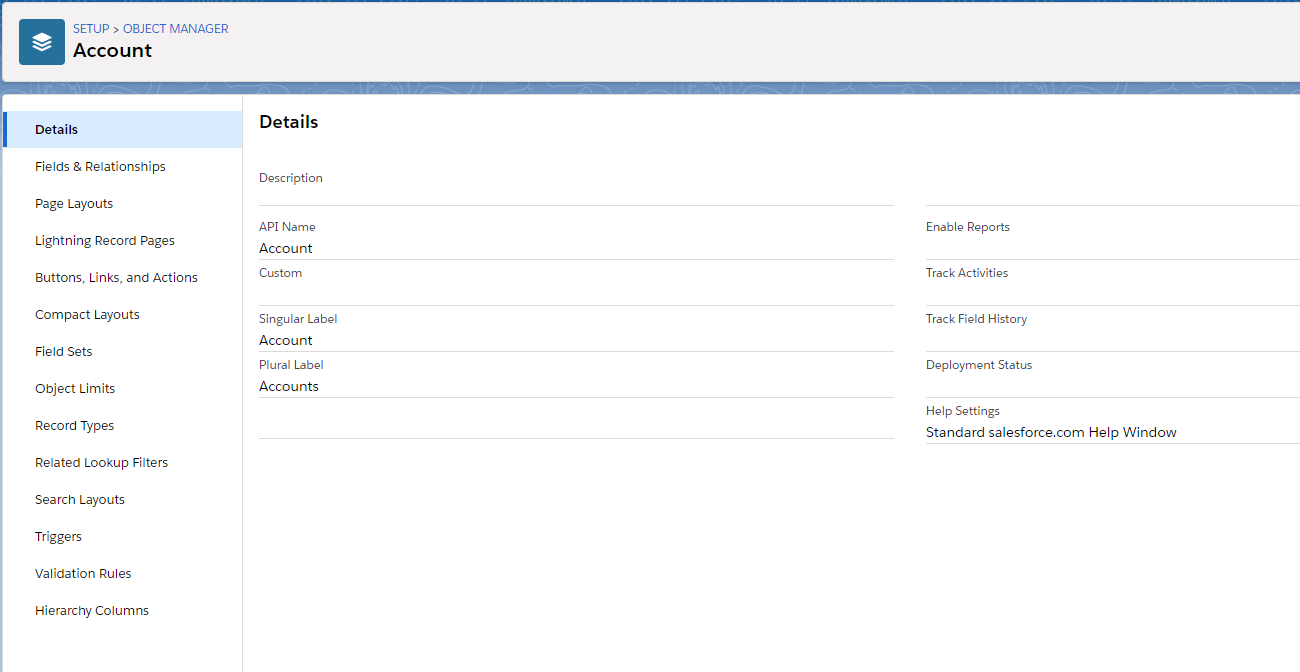
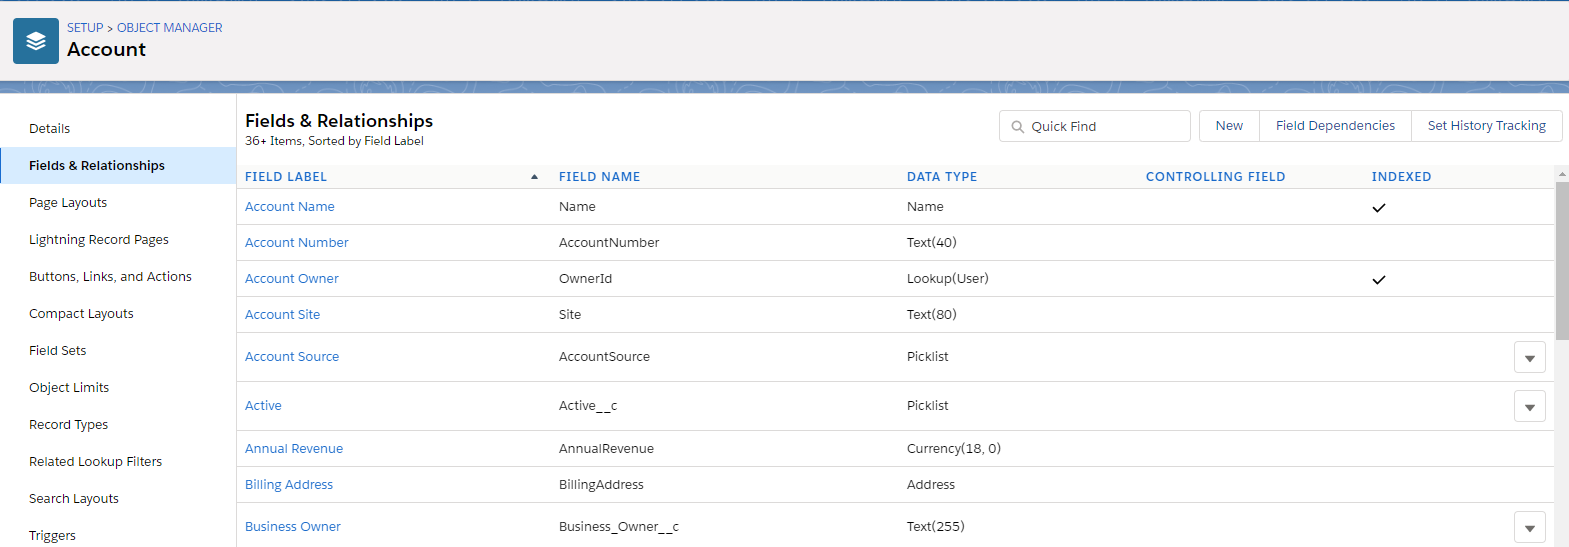
To manage a field in the object:
- Click on Fields & Relationships. All of the fields that store data for the object will be displayed.
- Click the New button to create a new field.
- Click on the Field Name to open its properties and make changes.
- To remove the field, select Delete from the drop-down at the end of the line.
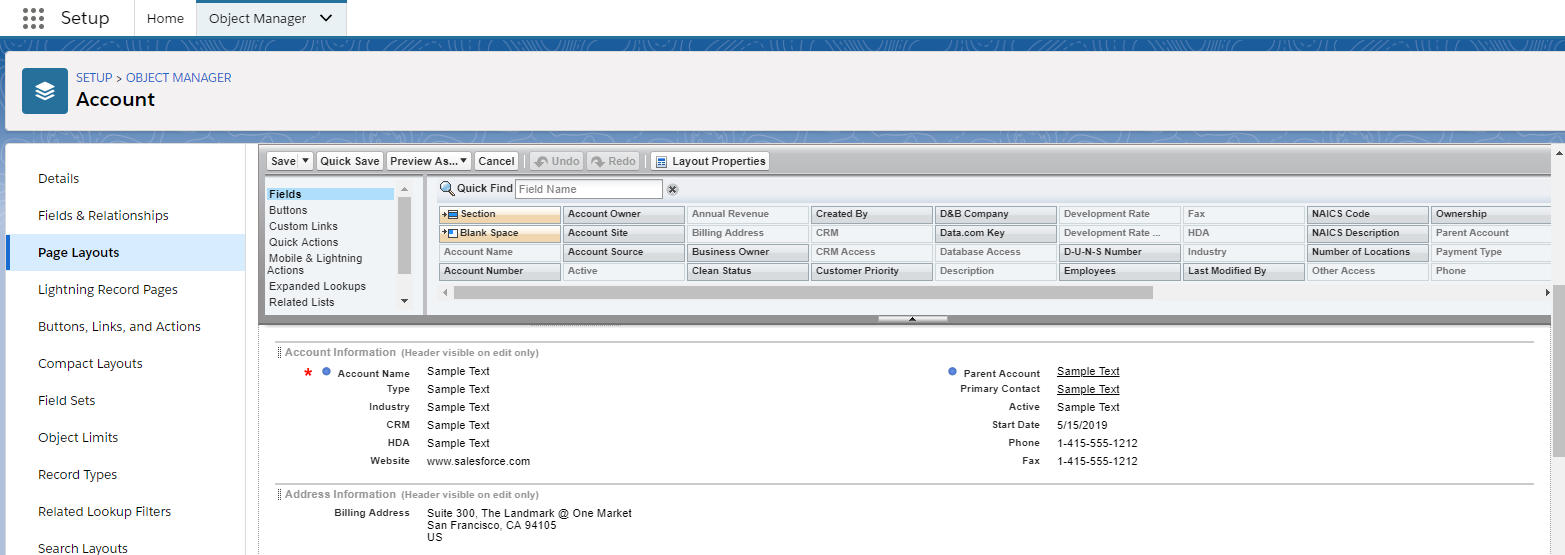
To manage how the fields are displayed on the screen:
- Click on Page Layouts. All of the page layouts that have been configured are displayed.
- Click on the layout you want to manage.
- From here you can move fields around the screen, add/remove sections and related lists and much more.
To manage how your Search pages look and what functions to include:
- Click on Search Layouts. All of the search screens used will be displayed.
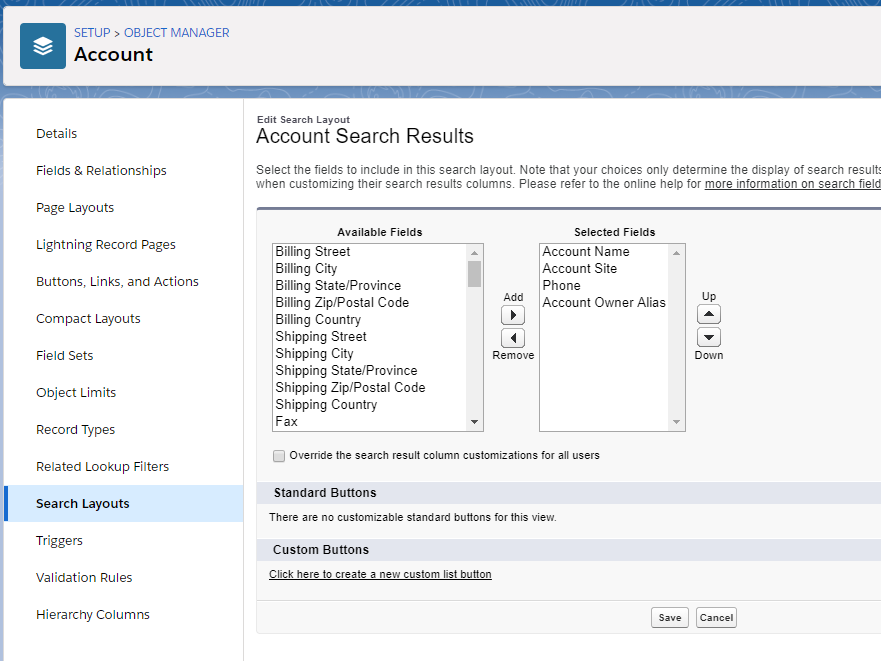
- Click on the drop down at the end of the row of the layout you want to manage and choose Edit.
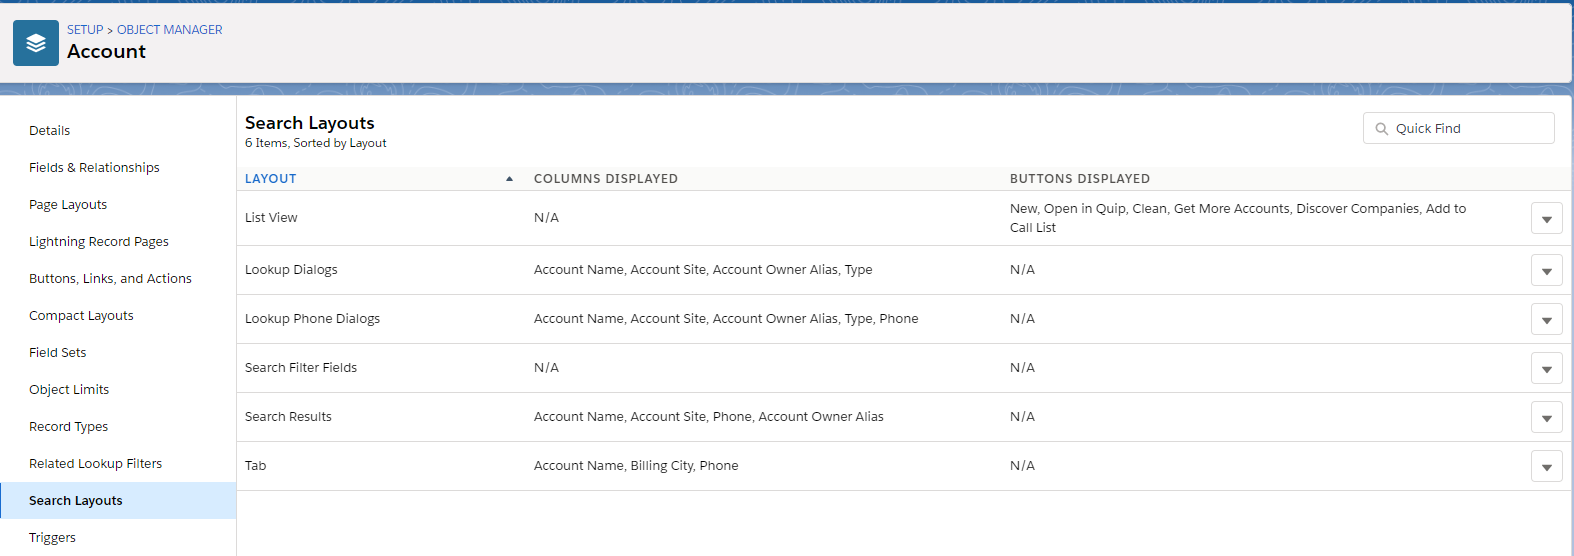
- From the Edit Search Layout page you can choose what fields will be displayed in the search result list.
There are several ways to send e-mail messages to your contacts. Creating templates for e-mails that are sent often such as requests and form letters, streamlines how you send them. Read More
If you repeatedly send the same outgoing messages such as requests, acknowledgments, or any type of form letter, you can create e-mail templates to simplify the process. Read More
Salesforce has many ways to send email directly from records. You can automate templates, create letterhead, and send customized notifications. Read More