This tip is an oldie-but-goodie. If you want to categorize or color-code your emails and appointments, you’ll have to customize the Categories in Outlook. Please note that categories are easiest used with Exchange mailboxes, though it is possible to assign keyboard shortcuts to categories and assign them to non-Exchange mail that way.
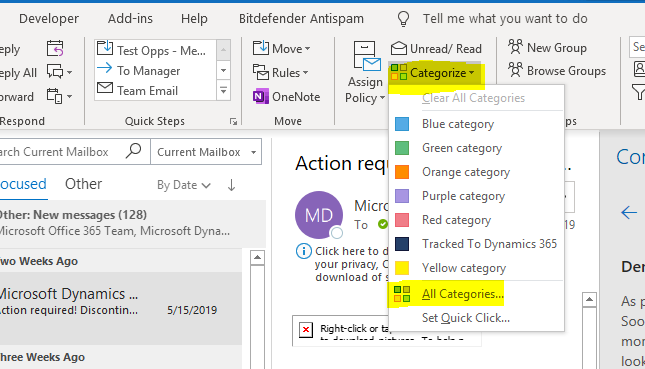
To create or edit Categories in Outlook, select the “Home” tab, then “Categorize”, then “All Categories”:

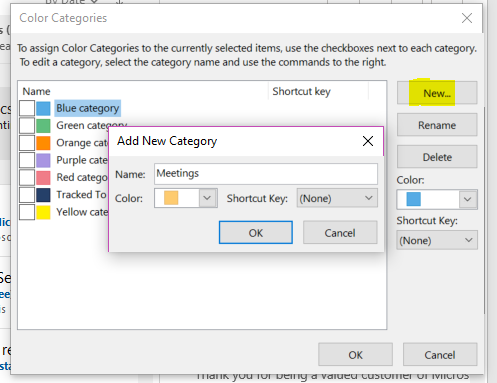
To create a new category, click “New”. Give your category a name and color:

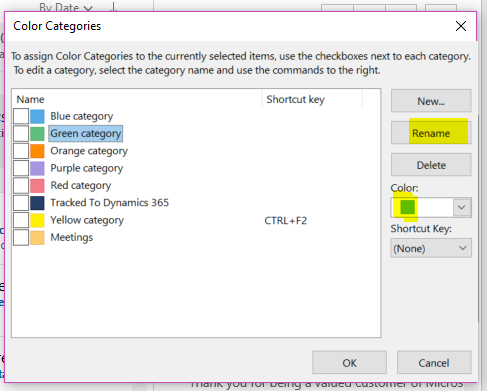
To edit existing categories, select the category (do not check it), then select “Rename” and/or change the color as required:

Click OK to save your changes.
To categorize your email, you can select the message and categorize it using the “Categorize” menu option, or right-click and assign categories that way.

