Dynamics 365 CRM has multiple standard dashboards created by the system and you can also create your own custom dashboard(s). Follow the steps below to create a custom dashboard:
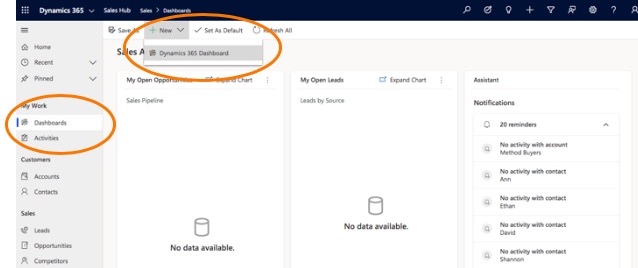
Log into Dynamics 365 CRM and on the Main Screen, scroll down the left side and click on Dashboards then select New, Dynamics 365 Dashboard at the top center of the screen
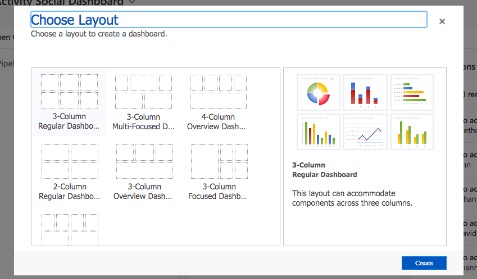
Choose the Layout for your Custom User Dashboard and click Create
Once you select your layout, the blank layout screen will appear, and you can enter the Name for your custom dashboard
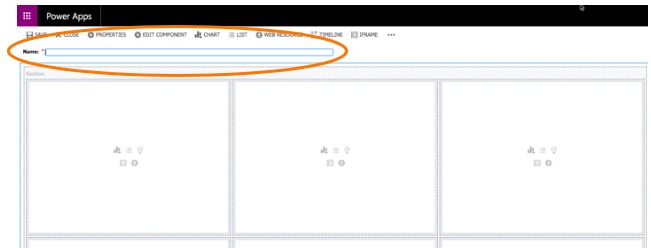
Next click in one of the Sections and start adding/choosing components for the type of line or bar graph, list of line items etc. that you would like displayed
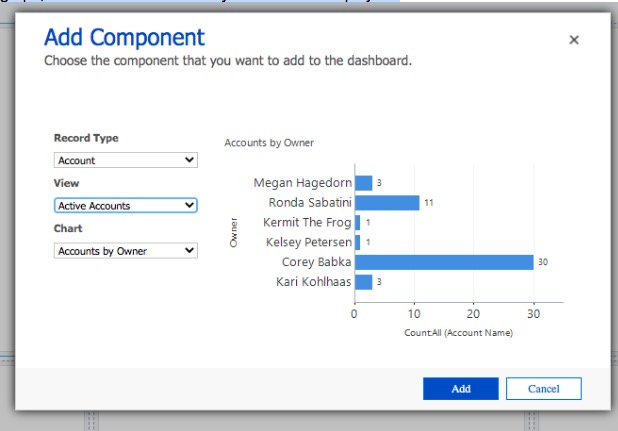
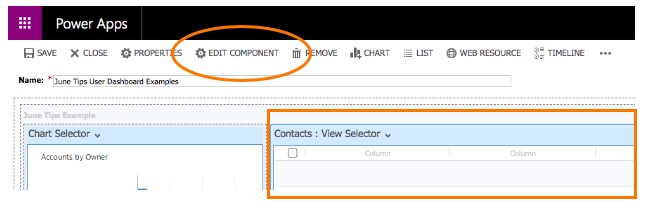
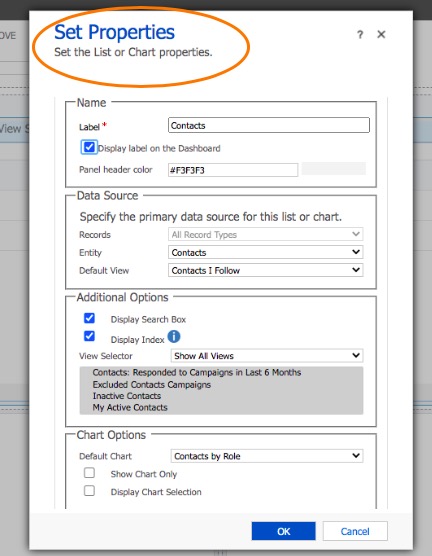
If you have a list of line items or a bar graph, set the properties by double clicking on the section or by selecting the Edit Component in the Menu
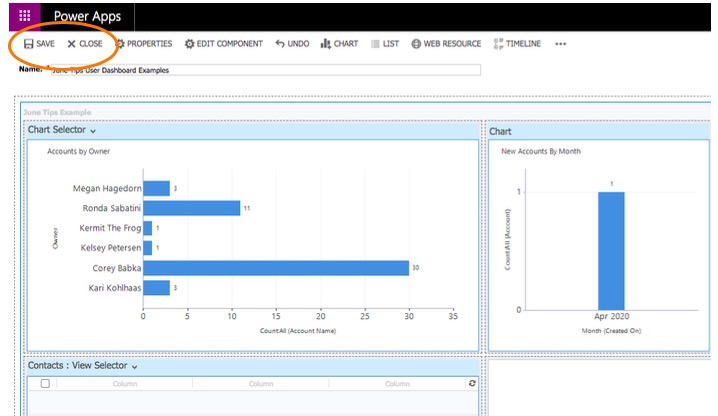
Once you have your sections defined and formatted, review the output by clicking Save and Close
On the Main screen, scroll down the left to Dashboard, then using the arrow to the right of the Main dashboard towards the top center of the screen, select the dashboard you created
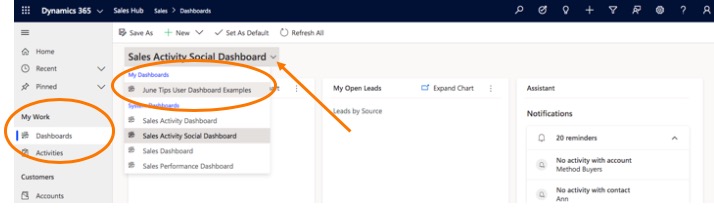
This will bring up the custom dashboard, and you can verify the data back to what is contained in Dynamics 365 CRM
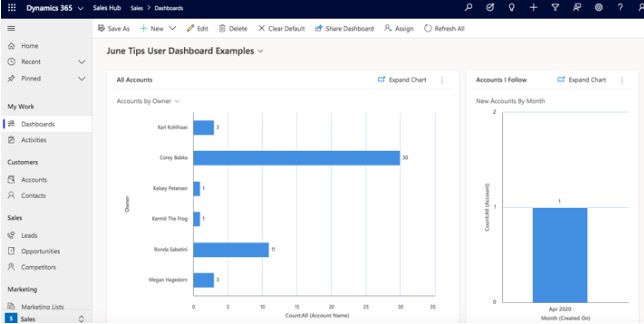
For example, in the All Accounts bar graphs, click on the three dots beside Expand Chart and select View Records. This will then show the records that make-up the bar graph

Once the data is accurate, you can make the custom dashboard your default by clicking on Set as Default

If you have any issues or questions, please reach out to The Marks Group and we’ll be happy to help.