There may be times when you are in need of quickly viewing a picture. Some examples would be a picture of a person to verify their identity or images of property you are insuring.
Linking the image on the Links tab is helpful as you can view it in the Preview Pane. But if you have many linked documents and don’t want to search, you can display the image on the GM+View tab so it can be accessed with a click of the tab.
You will need to make sure the image is sized correctly by using image editing software. Save the photo as either a .bmp or .jpg file. PDF file formats will not work.
First you will link the image file in the Links tab:
- Save the image to a place on the network where everyone has access to it. Example: V:\GoldMine\Client Property Photos\
- With the appropriate contact record open, click on the Links Right-click in the area to the left of the Preview Pane and select New. The “Linked Document” window will display.
- Complete the following:
- Document Name: – This needs to be a unique name used to retrieve the image for the GM+View. For this example we will use “Client Property Photo”.
- File Name: – Click the Browse button to locate the photo file. Once found, click on it and then click Open.
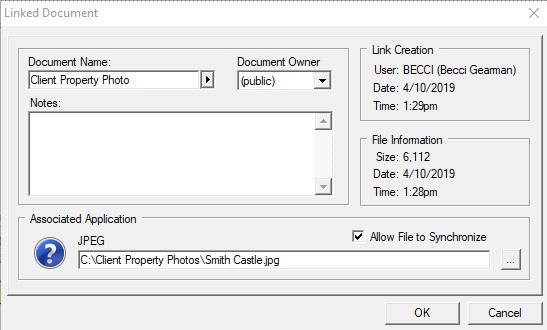
- Click OK to link the photo to the contact record.
Configure GM+View:
- Click on the GM+View tab and click the Create Web Form
- Give the Template a name (e.g., Property Photo).
- Click in the blank body of the template and then on the <H> button in the toolbar.

- Delete any text that is in the body and copy the following text into body of the template. Be sure there are no line breaks in the code:
<!DOCTYPE HTML PUBLIC “-//W3C//DTD HTML 4.0 Transitional//EN”>
<HTML><HEAD>
<META name=GENERATOR content=”MSHTML 11.00.10570.1001″></HEAD>
<BODY leftMargin=1 topMargin=1 rightMargin=1>
<DIV><<LinkedImage:Client Property Photo:alt=”Client Property” border=”2″ width=250>></DIV></BODY></HTML>

- Click the Save button and close the window.
- Set the Property Photo template as the Default GM+View.
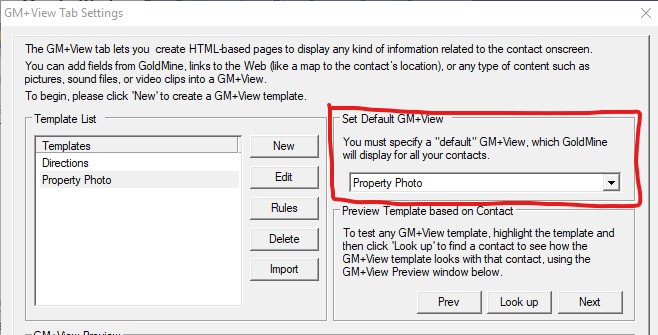
- Click OK to close the GM+View Settings window.
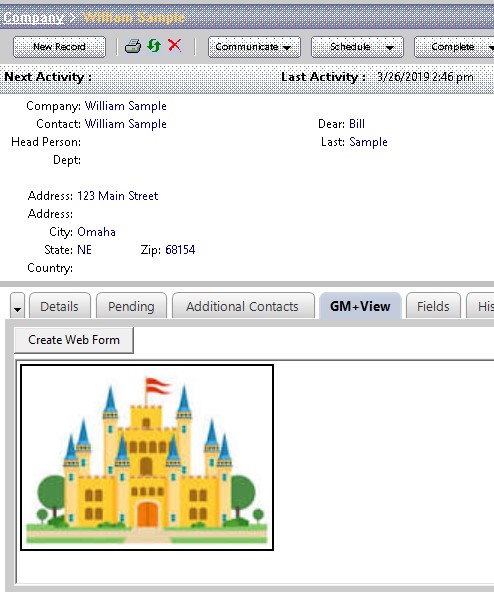
View the Property Photo:
- Open the contact record you linked the photo to.
- Click on the GM+View
- View the Client’s Property Photo.
You can use this same process on any contact records and for any type of image. The Document Name is what the GM+View template uses to know what picture to display.
To use a different Document Name, edit the bold text below:
<!DOCTYPE HTML PUBLIC “-//W3C//DTD HTML 4.0 Transitional//EN”>
<HTML><HEAD>
<META name=GENERATOR content=”MSHTML 11.00.10570.1001″></HEAD>
<BODY leftMargin=1 topMargin=1 rightMargin=1>
<DIV><<LinkedImage:Client Property Photo:alt=”Client Property” border=”2″ width=250>></DIV></BODY></HTML>