It’s time for some spring cleaning! The reports area of Dynamics is often left unorganized, making it a chore to locate particular reports. In this post, you’ll learn how to create a new report category, then a new system view to further organize your reports.
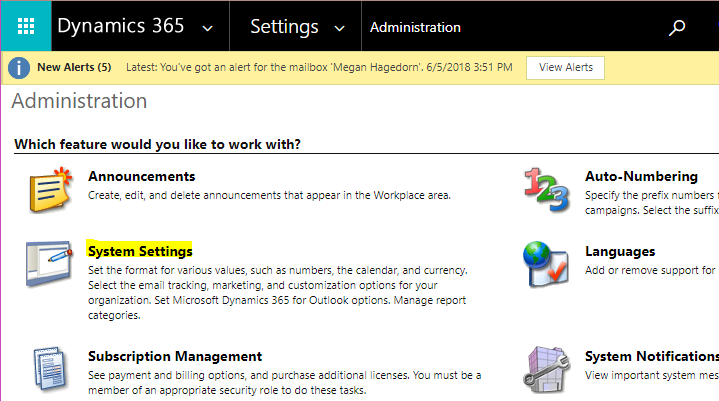
Once you have a new report category in mind, head to Settings–>Administration–>System Settings:
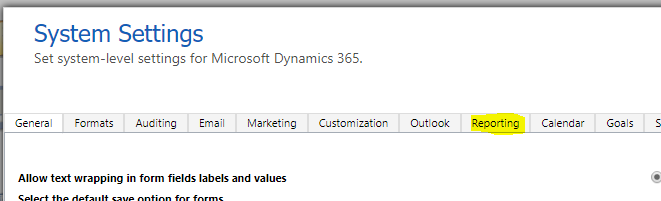
Select the “Reporting” tab:
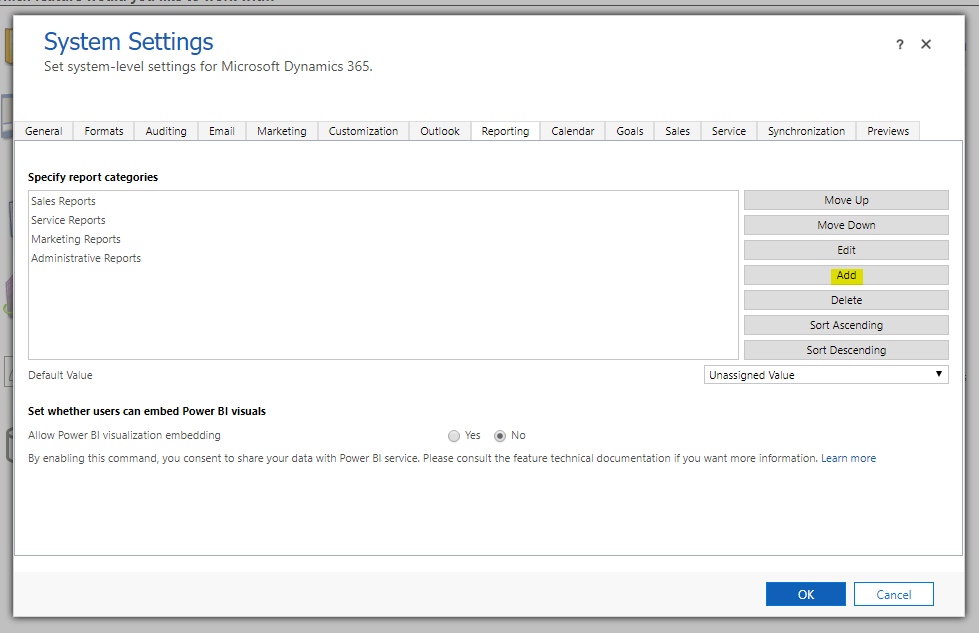
You’ll see the out-of-the-box report categories listed here. There are many out-of-the-box reports using these, so keep that in mind if you decide to rename the existing categories. We’re going to add “HR Reports” to this list by selecting “Add”:
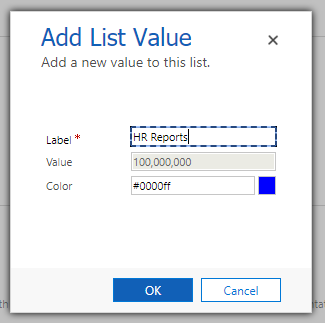
Enter your new category, then select OK:
You can rearrange the categories by selecting “Move Up”, “Move Down”, or Sort Ascending/Descending. Select OK when finished.
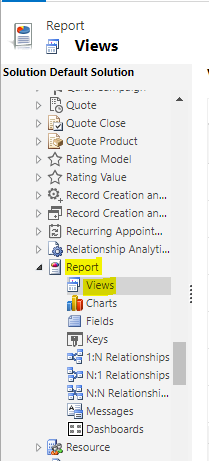
Now that a new category has been created, open the default solution by going to Settings–>Customizations–>Customize the System. Expand “Entities”, then find “Report”, then select “Views”:
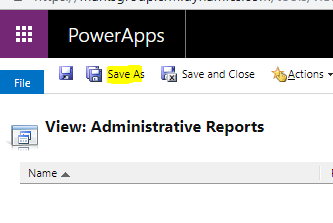
Open “Administrative Reports”, then select “Save as”:
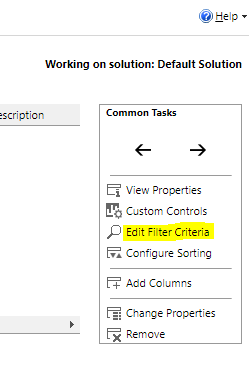
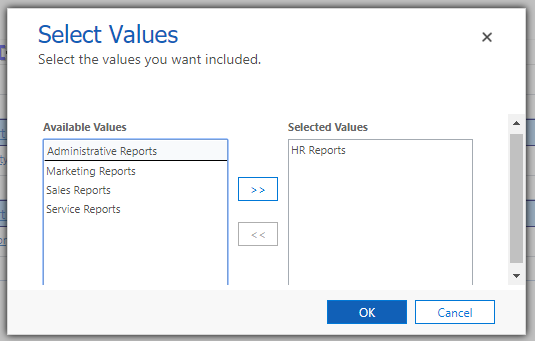
Give the new View a name (in this case, HR Reports). Since we made a copy of an existing report, select “Edit Filter Criteria” and update the report category:
Select OK, then save & close the view. Publish all customizations. Now, you can head back to your reports area and categorize reports as needed–select the report, then “Edit”, then select the appropriate categories.