There’s a new way to create and edit system views! With the new view designer, you can drag and drop columns, easily modify the column width, and actually publish your view right from the view editing window. It’s a bit tricky to find, so follow along to check it out for yourself.
Please note that system administrator or customizer privileges are required to follow along with this tip, but Microsoft will be rolling this feature out for all users (to create/edit personal views) over time.
Head to make.powerapps.com
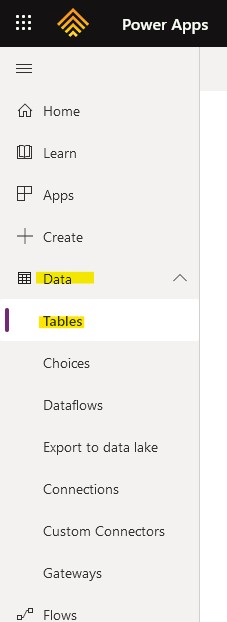
Expand “Data”, then select “Tables”:
Select the table (formerly entity) you want to add or edit a view for. Select the “View” tab:
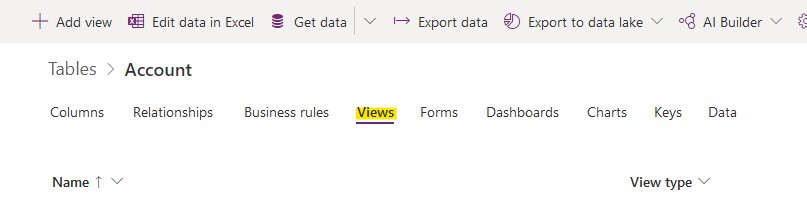
Select “Add View” or select an existing view to edit it in the new view designer.
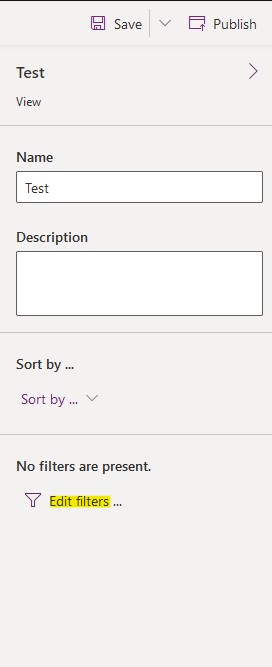
Edit the filter by selecting “Edit filter” in the lower right corner:
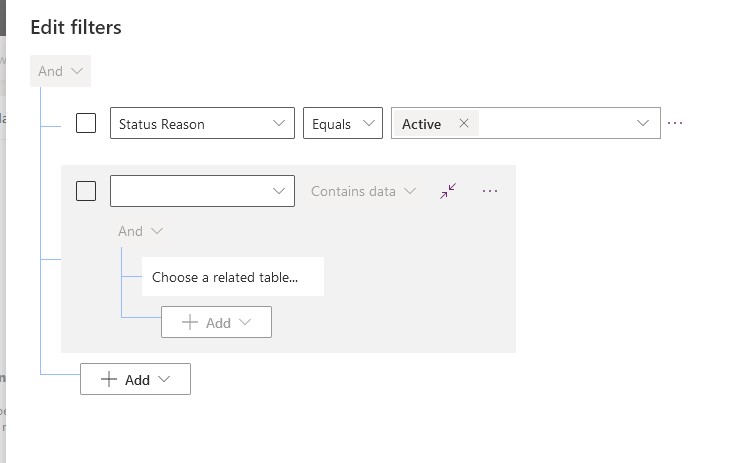
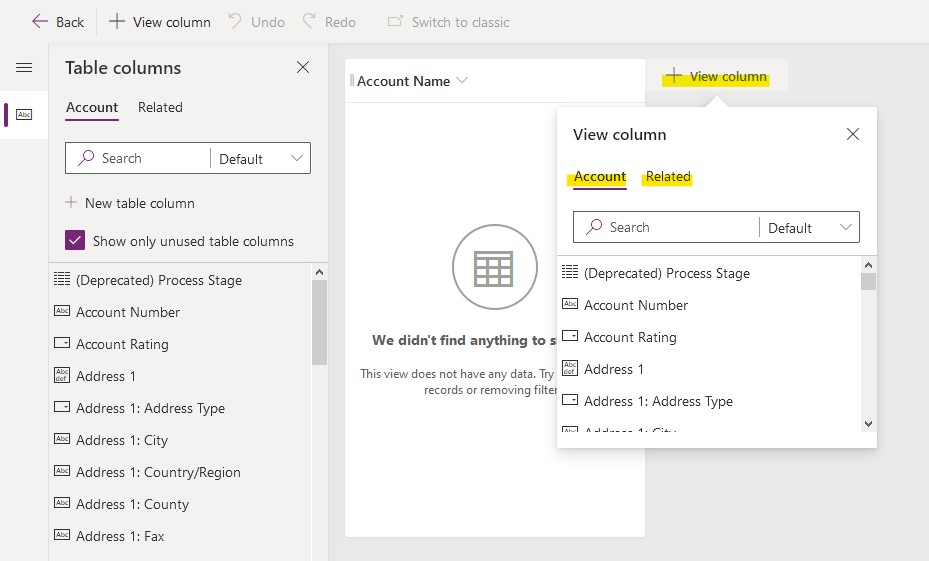
Select “Add column” to add a column from this table or a related table. You can also drag and drop columns from the left:
Edit column properties and set the sort order by selecting the column header. Reorder the columns by dragging and dropping them, though it’s a bit finnicky.