Did you know that you can add an out-of-the-box Timer to a form in Dynamics? The timer will count down to a date specified in the form, and display different statuses depending on conditions you set. You can add multiple timers to track against multiple milestones. In the example below, we’ll be adding a countdown timer to the Opportunity based on the Estimated Close Date.
To add a timer control to a form, open the form editor:

Select “Insert”, then “Timer”:

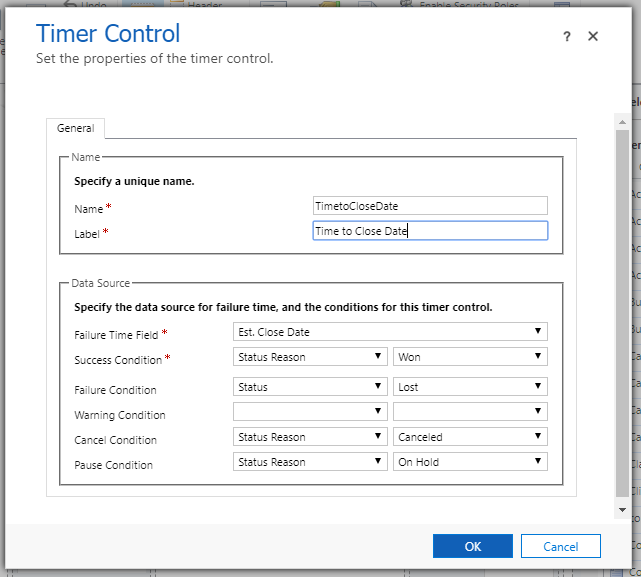
Customize the settings as needed. The Failure Time Field is the date that is being counted down to. You can add conditions to pause or cancel the timer, and add failure and warning conditions:
Save and publish after you add your timer control.
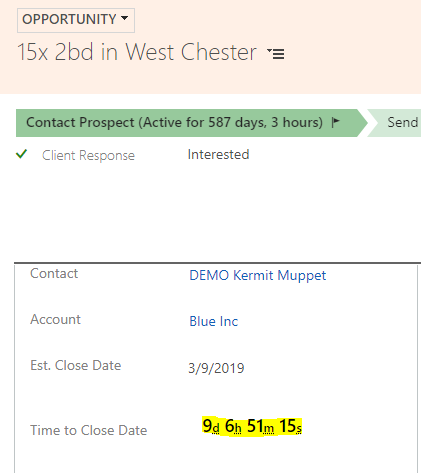
Here’s what an active timer looks like:
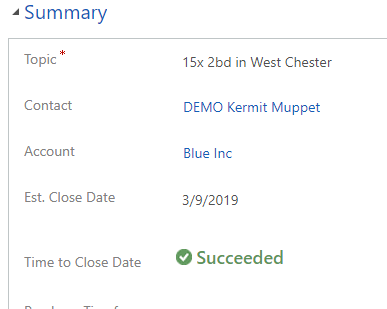
Per the conditions we set above, depending on the status reason, the timer can display different statuses:
Opportunity was Won:
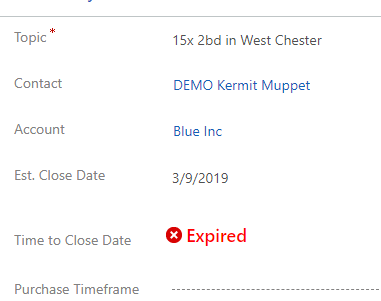
Opportunity was Lost:
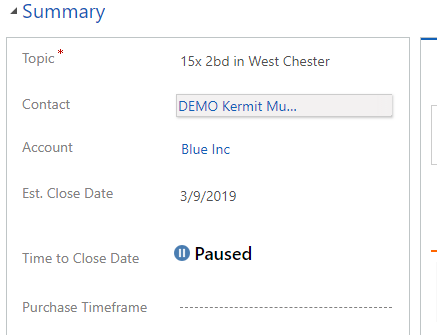
Opportunity is on hold:
Please note that at this time, it’s not possible to count up using the out-of-the-box timer control–for example, if you wanted to see how much time has passed since an Opportunity was created. The workaround for this would be to create a calculated field and use the “DateDiff” function.