One of my favorite new [to me] discoveries in Microsoft Teams is the Planner. The Planner was clearly designed with collaboration in mind, giving you the ability to assign owners to different tasks. However, It works JUST as well as a personal or non-collaborative planner, and I’ve actually started to use it heavily for my own work. I love it! If you’re interested in giving it a spin, keep on reading.
Before diving in, just a quick side note about using the Planner for yourself…I actually created a private team, gave it my own name, and am using that as my own personal “headquarters” in Teams. I can keep notes, files, and I have a nice Planner tab that I’m loving to keep track of my tasks. So Teams can be great for non-collaborative organization, too!
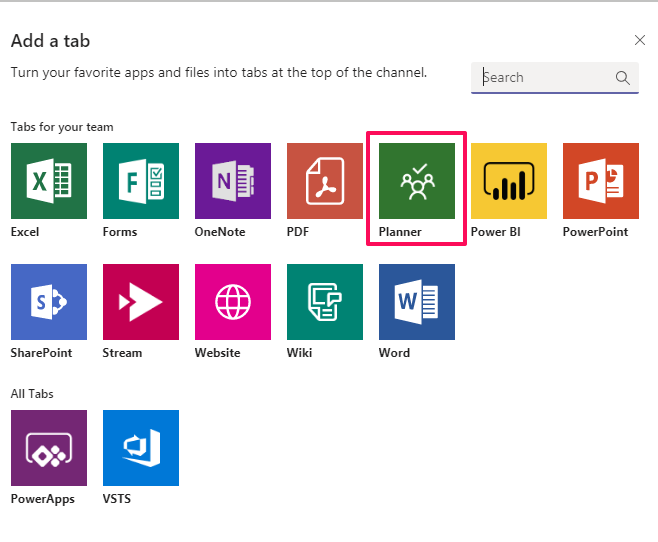
To add a new Planner tab to any team, select the + next to your other tabs:

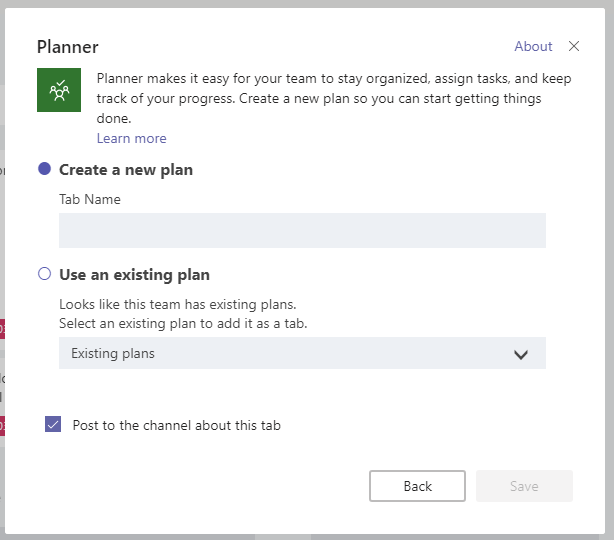
Select Planner:
Give the tab a name (you can always change this later):
Voila!
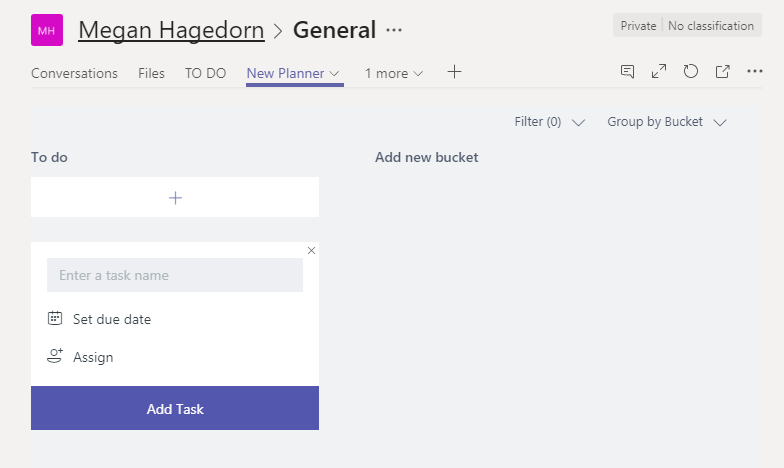
A few things to point out:
- Different lists are referred to as “Buckets”. To add a new Bucket, just click right on the “Add new bucket” text and type away.
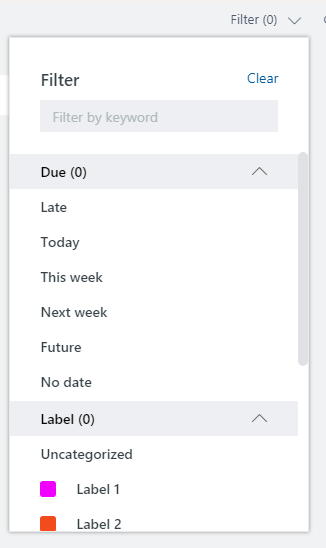
- You can filter by keyword, assignee, Due Date, and Label:
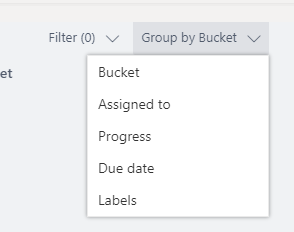
- You can Group By Bucket, Assigned to, Due Date, etc:
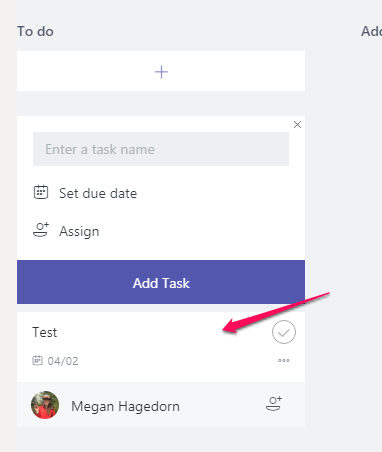
- The actual tasks might look really simple (too simple), but after you create a task, you can click on the task and more details pop up:
You can do so much more from the details screen!
a. You can update the progress and start/due dates
b. Add collaborators (including non-team members)
c. Add a description
d. Give it a label
e. Add sub-tasks! I love this. If the “task card” is looking too simple, you can add the description and sub-tasks (checklist items) to the card by clicking the “Show on card” checkbox
f. Add attachments! Unfortunately right now they must either be added via URL or SharePoint. I’m hoping they’ll add a local upload option as well.
g. Add comments (this is a great way to ask questions or update the status for yourself or collaborators)
h. See activity & comments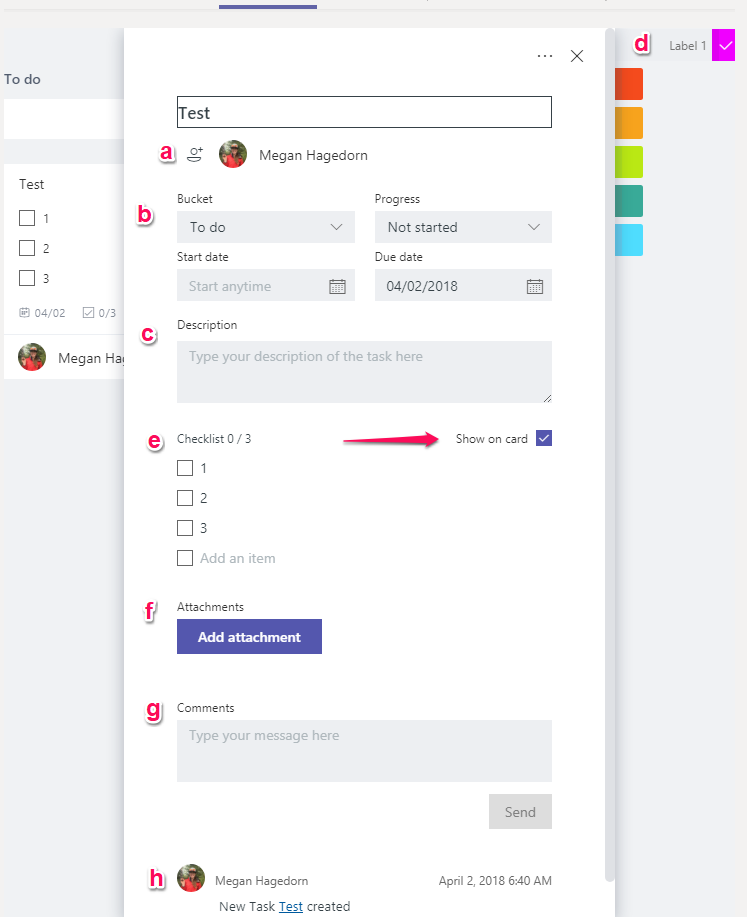
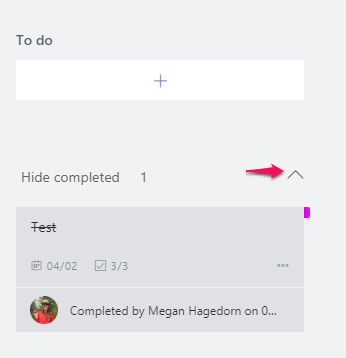
- It’s easy to show completed tasks, though they are hidden by default
- You can also access the planner from the Office 365 Portal! (Apps–>More)
The Planner has been incredibly helpful to me and I highly encourage you to give it a try, whether you use it for yourself or collaboratively.