I’m a huge fan of views, anyone that watches these posts as you know. They’re a fundamental piece of refining data, filtering reports, exports, etc. The basis behind a view is found throughout Salesforce as you know. However, the Lightning Edition has made a couple of changes that I had to struggle through to get the same functionality. So, as I usually do, I’ll walk through the creation of a view here for those willing to explore.
The major difference in views in Lightning is that you actually add the columns and dynamically change it almost while looking at the records unlike the classic version. In classic you go to a new screen, edit the filter, choose columns, then save it. In Lightning it’s a bit different more of a piece by piece while looking at it. Here goes….
So to start, choose your existing object and go in there (i.e., Accounts). By default, you’ll end up in the recently viewed accounts view. The bread and butter of the view design in our gear icon in the upper right of the view.
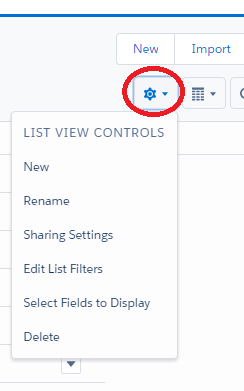
For any existing view (except the recently viewed) you ca use this to edit the view, rename, edit the criteria (the filters), etc. This will make more sense as we make a new one….
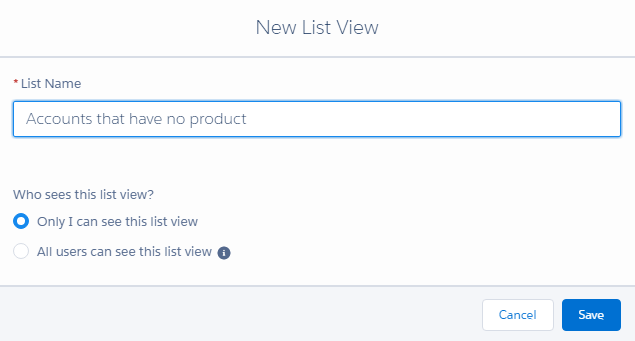
To create a new one, same gear icon – click NEW (don’t click the NEW button, that creates a new record — done that a bunch of times). Give the view a name and assign the sharing (only you or all users).
Here’s where things get weird. With that simple window, you’ve already created the view, without assigning criteria or picking columns. So on the right, the filters are at least enabled, but if not click the filter icon. Then click “New Filter” on the right.
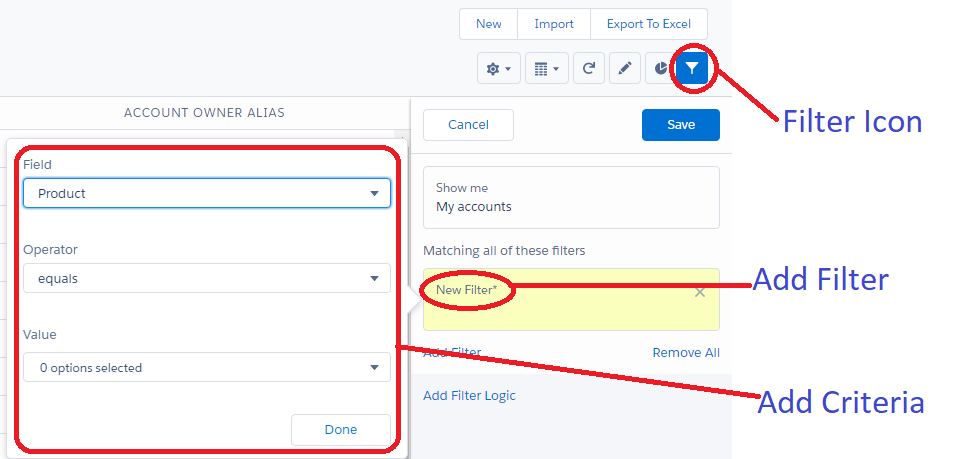
After you figure all that out, click Save at the top of the filter section and your view is changed. If you need to add more filters or change the logic, do it on the right panel (once done, de-select the funnel/filter icon and you have more real estate).
To change columns, select the gear again, then choose “Select fields to display”. This will open the new window allowing you to edit and select your columns.
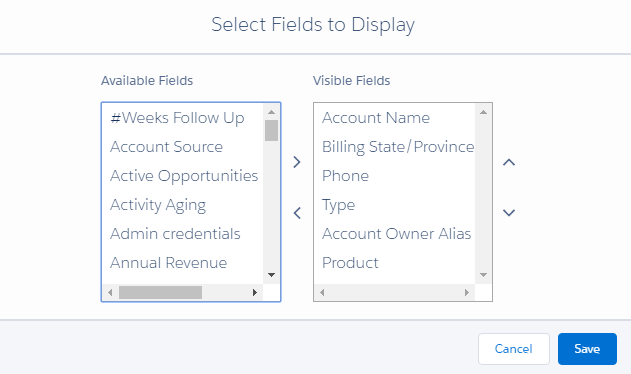
Save it and your view is finished. As I said, it’s a bit backwards from before, but it’s all there. Just a different way of thinking now with the new design.
